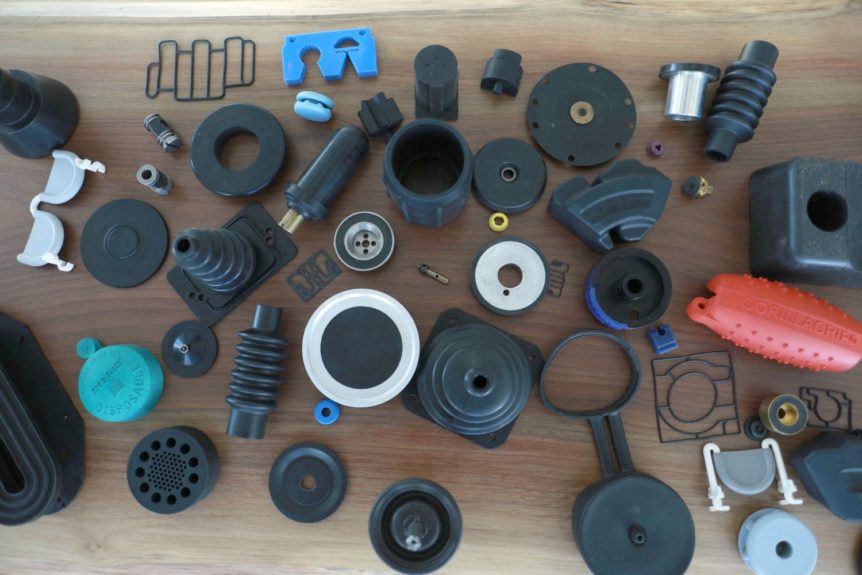
The Rubber Group uses injection, transfer, and compression molding to produce quality rubber parts. Whether you need lower or higher volumes of smaller or larger parts, our Rochester, New Hampshire (USA) company can recommend the right custom molding service for your application. In addition to explaining how each technique works, The Rubber Group can help you to understand the advantages, disadvantages, and recommended uses for each molding method.
Rubber Injection Molding Explained
Rubber injection molding feeds a ribbon-like strip of uncured rubber into a rotating screw. A controlled amount is pulled into the injection unit, where the rubber is pre-heated and plasticized. This material is then injected into a mold cavity through a gate and runner system. The rubber is held under high pressure and at an elevated temperature to achieve curing or vulcanization. When curing is complete, molded rubber parts are removed or ejected from the mold’s cavities.
Rubber injection molding supports high volumes of parts that require medium-to-high levels of precision. Because the rubber is pre-heated, it flows readily into mold cavities and supports decreased cure times. Additional advantages include shorter cycle times, flash-less tooling, and reduced material waste. Rubber injection molding also supports over-molded products, provides high levels of control and consistency, and lets molders collect and analyze data from a variety of process parameters for every cycle.
Depending on the size and complexity of the part, the tooling costs for rubber injection molding may require larger volumes for mold amortization. At The Rubber Group, however, many of our injection molds are less expensive than an equivalent transfer mold. Our skilled personnel have also developed ways to speed changeovers so that they are more effective for shorter runs.
Transfer Molding Explained
Transfer molding begins by measuring the molding material and placing this uncured rubber in a “pot” that is a part of the mold. The mold is then closed and a plunger compresses the material. As heat is applied, pressure forces or “transfers” the uncured rubber through sprues into the mold’s cavities, giving this molding process its name. The mold remains closed during curing and is later opened to remove rubber parts for trimming, a secondary process that removes unwanted overflow material called flash.
Transfer molding provides tight control of dimensional tolerances. Pre-formed materials are required, but a single pre-form can fill hundreds of mold cavities. Plus, because pre-forms are cut by hand, there is a reduced risk of contaminating color parts. Although some transfer molds produce flash, rubber molders can also use flash-less tooling. Sometimes, a flash-less tool is preferred in a transfer process. If transfer molding produces flash, manual trimming or cyrogenic deflashing can be used to remove it.
Compression Molding Explained
Compression molding also uses pre-formed material. It is used to mold all elastomers and durometers. After uncured rubber is placed in the mold’s cavity, the compression mold is closed and heat and pressure are applied. When the cavity is filled, excess material fills the mold’s overflow grooves. Later, after curing is complete and the mold is opened, demolding is performed to remove any flashing.
Compression molding is a good choice for very hard or difficult-to-flow materials because it doesn’t need to push the rubber through sprues, gates, or runners. This molding technique is also used with very expensive materials, large parts, and low volume applications. Additional uses include parts with large cross-sections that require long curing times.
To discuss custom rubber molding for your specific application, contact The Rubber Group.

